Designing and drafting your own patterns is such a great pleasure, especially when the resulting clothing fits! We have many Garment Designer (pattern making software) users who are developing their own unique styles and are delighted with the process. Creativity doesn’t get any better than that!
But wait! There is a potential ‘gotcha’ in the design process in that hand and computer-drafted patterns don’t come with sewing instructions and so it is up to the pattern maker to determine the order and the techniques they need to use when sewing the garment together. This is relatively simple for an experienced sewer, but not so easy for a beginner. Don’t worry! There are some simple guidelines that one can follow to get to where you need to go; assemble your new creation.
Planning the Order of Construction
So how do you know the sequence of sewing all your pattern pieces together? There are a few approaches:
- Consult other sewing patterns with a similar style to see how they suggested sewing the garment.
- Develop your own system
Since the first option is relatively straight forward (but relies on having a pattern library), I will move on to discussing an approach to developing your own system.
Over the years, I have developed an approach which works for me. Some of it comes from learning about industrial sewing techniques at the college where I taught. The rest of it comes from the practicality of not performing gymnastics at the sewing machine. I think of the following as my mantra.
Sew as SMALL as you can, as FLAT as you can, for as LONG as you can.
Example of a Jacket
The general premise is to work flat on small parts of the garment before you start joining pieces. The reason for this is that garments become more cumbersome as they get larger and they are harder to work on when they they become three-dimensional.
Let’s use an example of a pattern for a jacket with a patch pocket, a collar, and a facing.
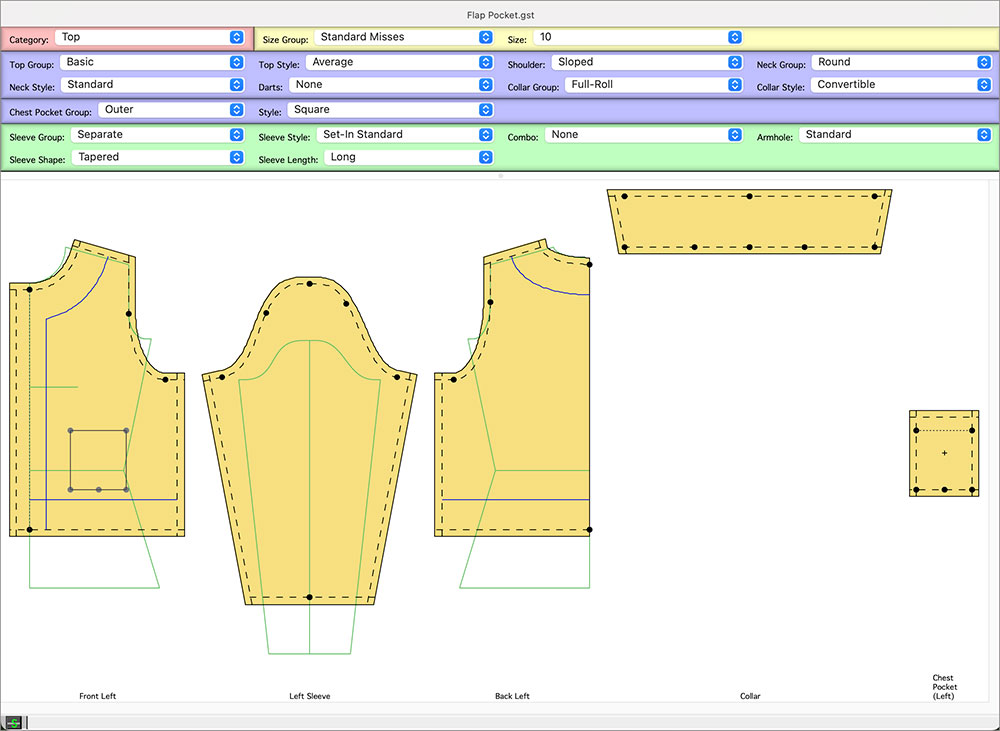
Chart of Suggested Sewing Sequence for the Above Jacket Pattern
The chart below shows you the sequence in relation to the pattern-piece size and whether the garment/pattern piece, as it evolves is still flat or is becoming 3-D. The Size column shows you the size of the overall piece as it grows from small to large and the Status column shows you the project moving from flat to 3-dimensional.
Remember..
Sew as SMALL as you can, as FLAT as you can, for as LONG as you can.
| Process | Size | Status | Comments |
| Prep Sewing | Small | Flat | Perform any stay stitching or reinforcement stitching needed on individual pieces |
| Prep and sew the pockets to the fronts | Small | Flat | Construct and attach pockets early while still an un-joined pattern |
| Prepare the Collar | Small | Flat | Prep your collar piece |
| Prep the Neckline Facing | Small | Flat | Interface, join at shoulder seams |
| Sew the Jacket shoulder seams | Small>> Medium | Flat | You are still flat, but now the garment is getting bigger |
| Add the Collar | Medium | Flat | Attach the collar |
| Add the Facing | Medium | Flat | Attach the facing |
| Buttonholes? One could add the buttonholes now if you are comfortable with their positions | Medium | Flat | One could sew the buttonholes now (or wait until the end) |
| Add the Sleeves | Medium>> Large | Flat | Sew the sleeve to the body of the garment |
| Sew Underarm and Side Seam | Large | Flat>> 3-D | Sew one long seam from the hem of the body up to the underarm and down to the sleeve hem |
| Hemming | Large | 3-D | Sew a hem of your choice |
| Buttonholes now (as second option) | Large | 3-D | If you prefer to try the garment on to determine buttonholes, do so and sew them now. |
In the above, the sleeve was set in an industrial manner, inserted while the garment is flat, and then one long seam is sewn from wrist up to underarm, and down the jacket body to hem.
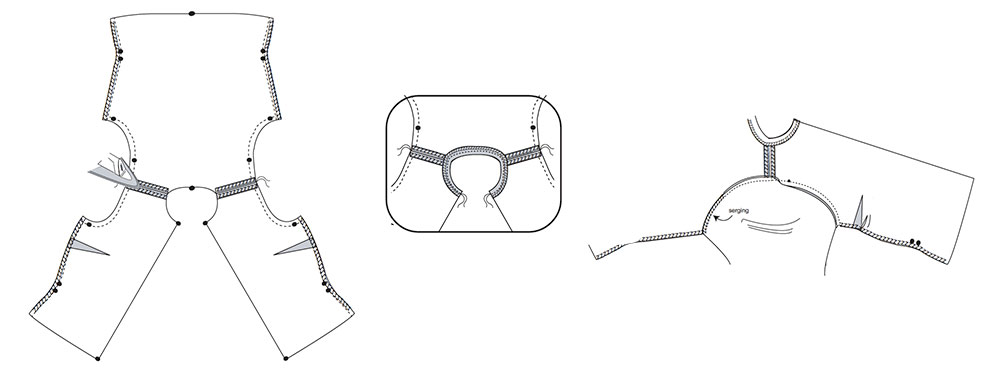
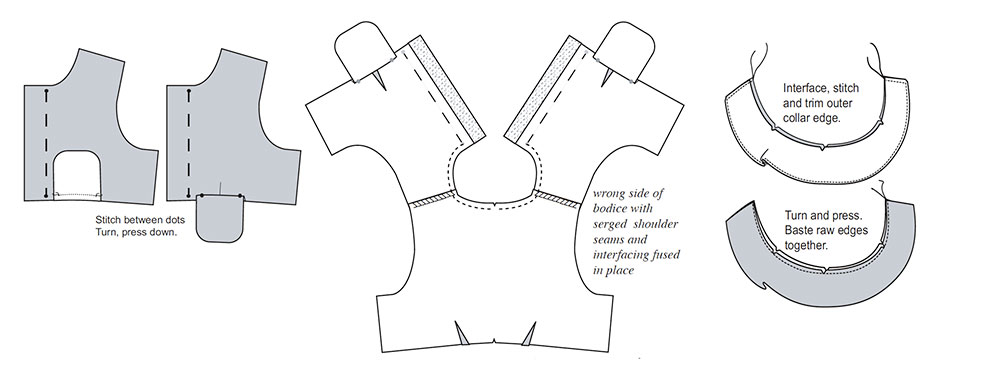
Below you can see a sequence where the front and back pattern pieces are joined (after the front darts were sewn). Then, the neck treatment was added. The third step was to insert the sleeve into the flat bodice.
Sometimes the order will change if you want the opportunity to confirm a neckline on your body before you prep the facing and collar. I know I often want this option, and occasionally I don’t even cut the patterns for these two pieces out until I have checked how the neckline works for me. That’s the beauty of Garment Designer, in that you can easily tweak something on the pattern and related pattern pieces will update automatically (e.g. neckline changes will update the collar).
Examples of Construction Sequence from the Easy 7 Jackets book by Susan Lazear
Below we are showing you some of the sewing instructions found for projects in our Easy Seven Jackets book. This book was written to assist Garment Designer users to get the most out of their software. It teaches you new design techniques in using the software and provides sewing instructions for the projects.
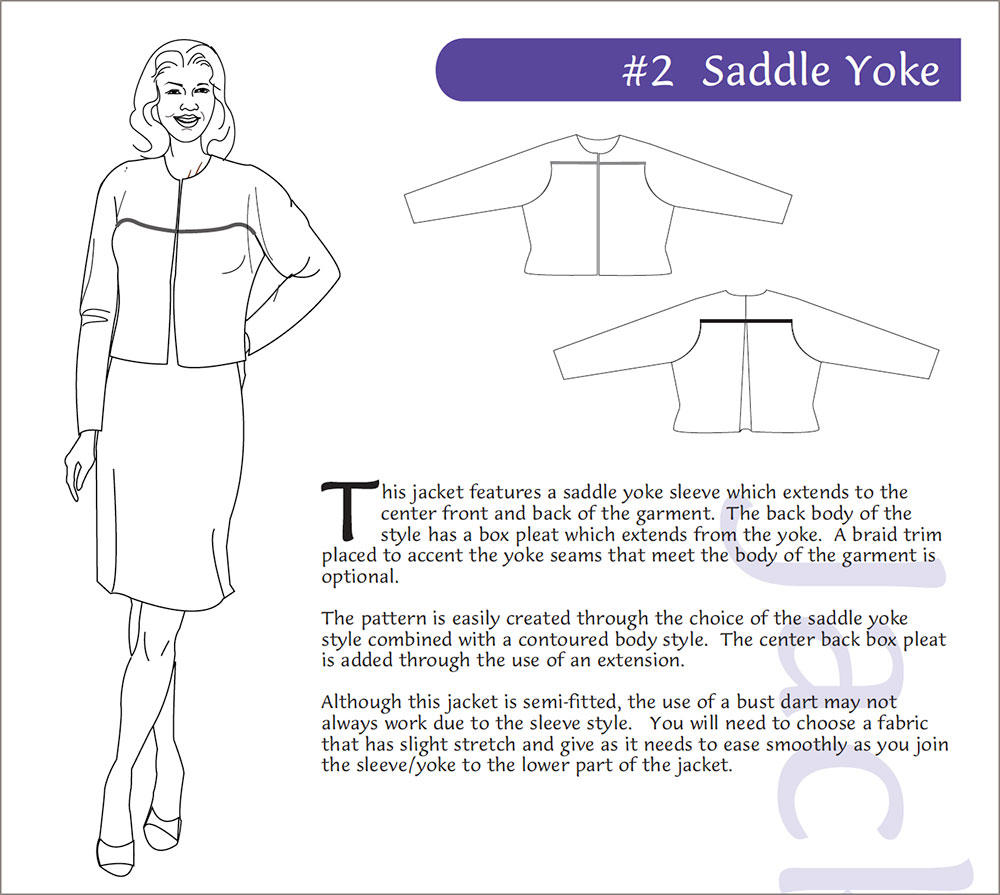
Example 1: Saddle Yoke Jacket
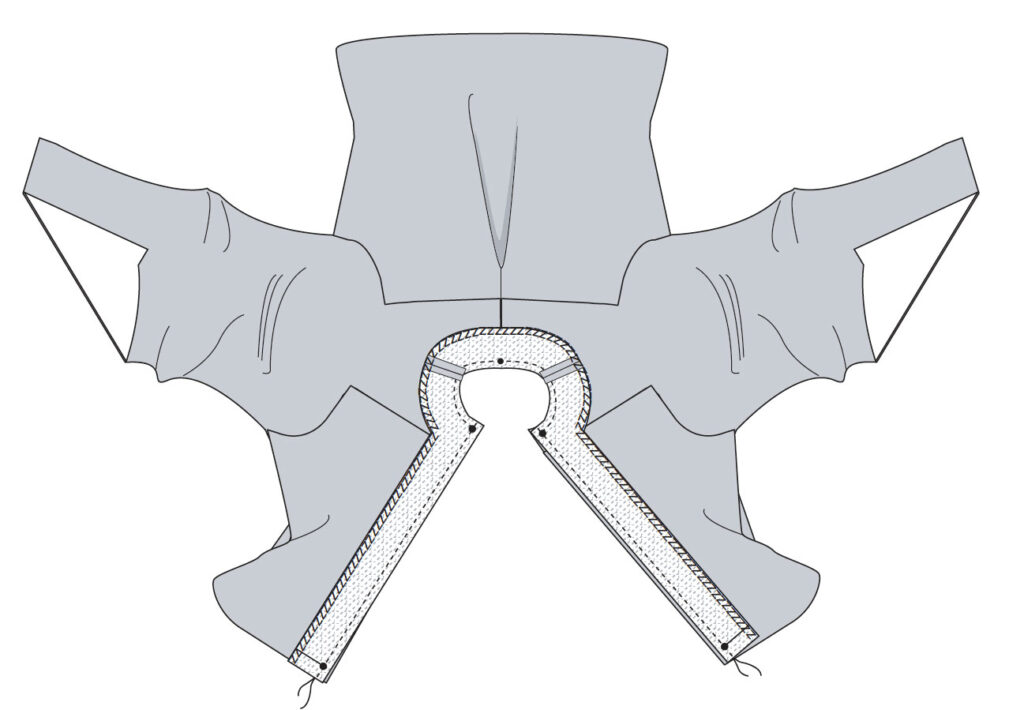
In the illustration below the back box pleat was sewn on the back prior to the sleeves being adjoined to both the Front and Back pattern pieces. Then, while still flat, the facing was prepped and attached.
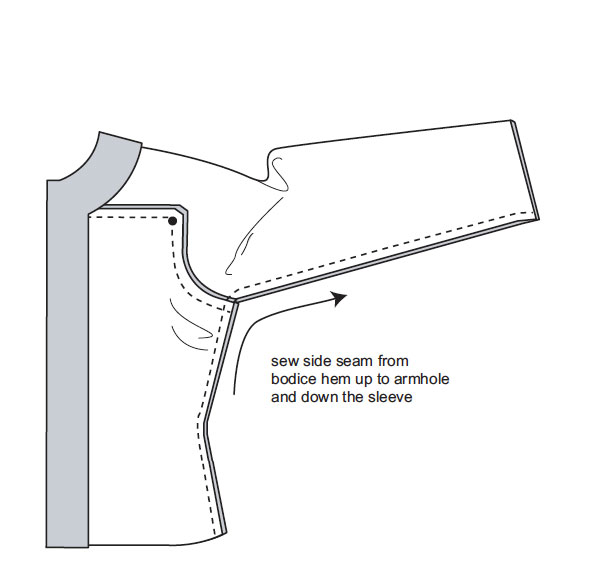
Then, as shown below, the entire underarm seam was sewn starting at the hem, moving up to the underarm, and then down to the sleeve wrist.
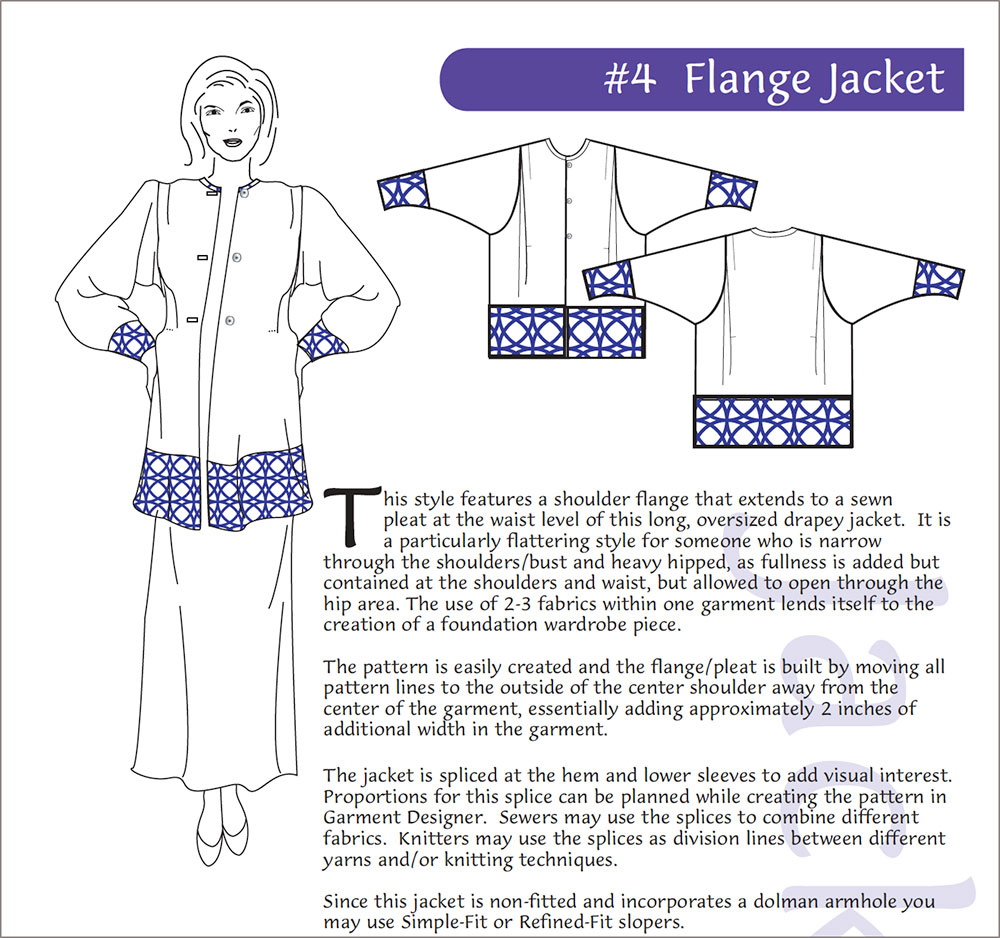
Example 2: Flange Jacket
This flange jacket is constructed in its entirety and then the flange is added as the last step.
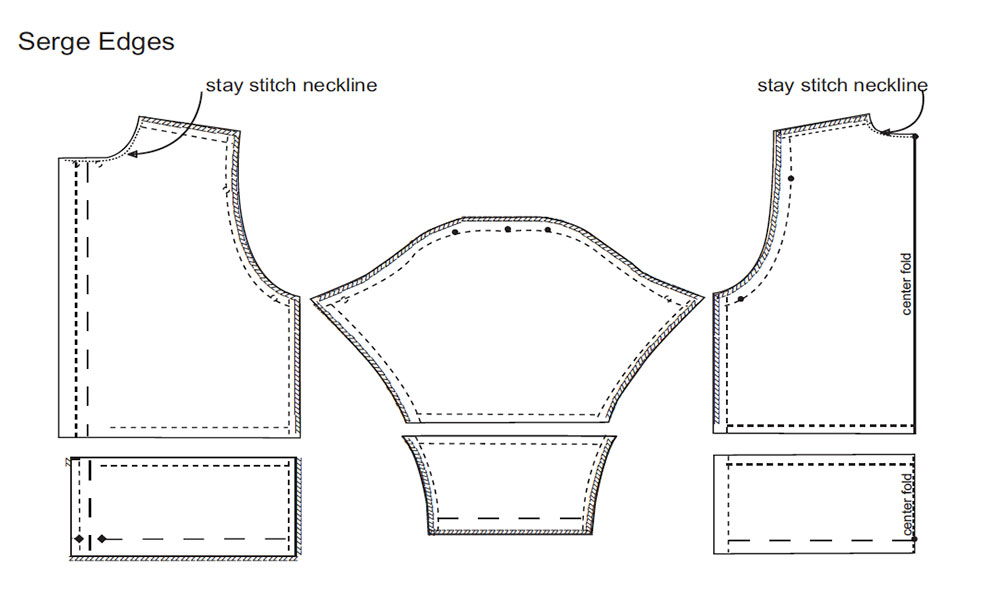
Below you can see the pattern pieces for our flanged jacket. Stay stitching was performed.
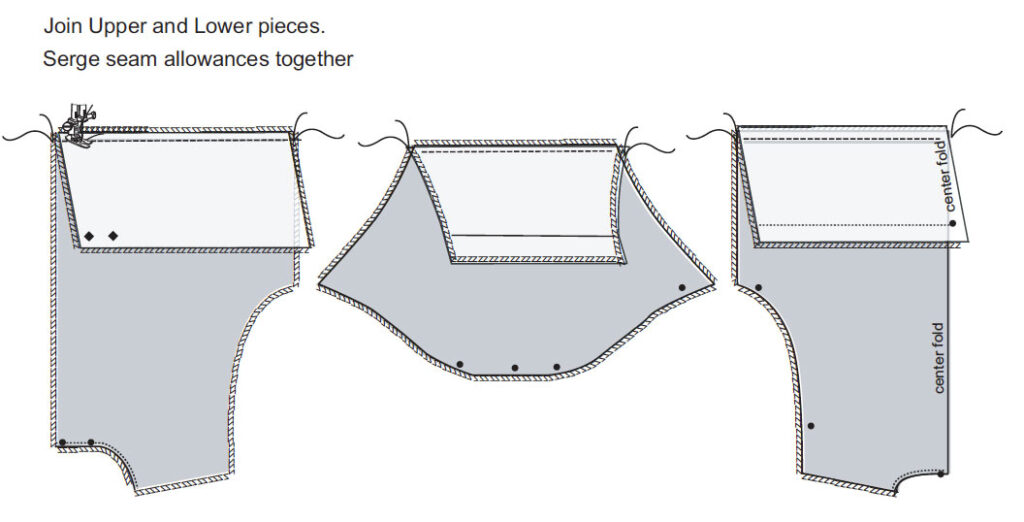
All outer edges were serged, and then the joining seam for each piece (lower to upper) was sewn and pressed open.
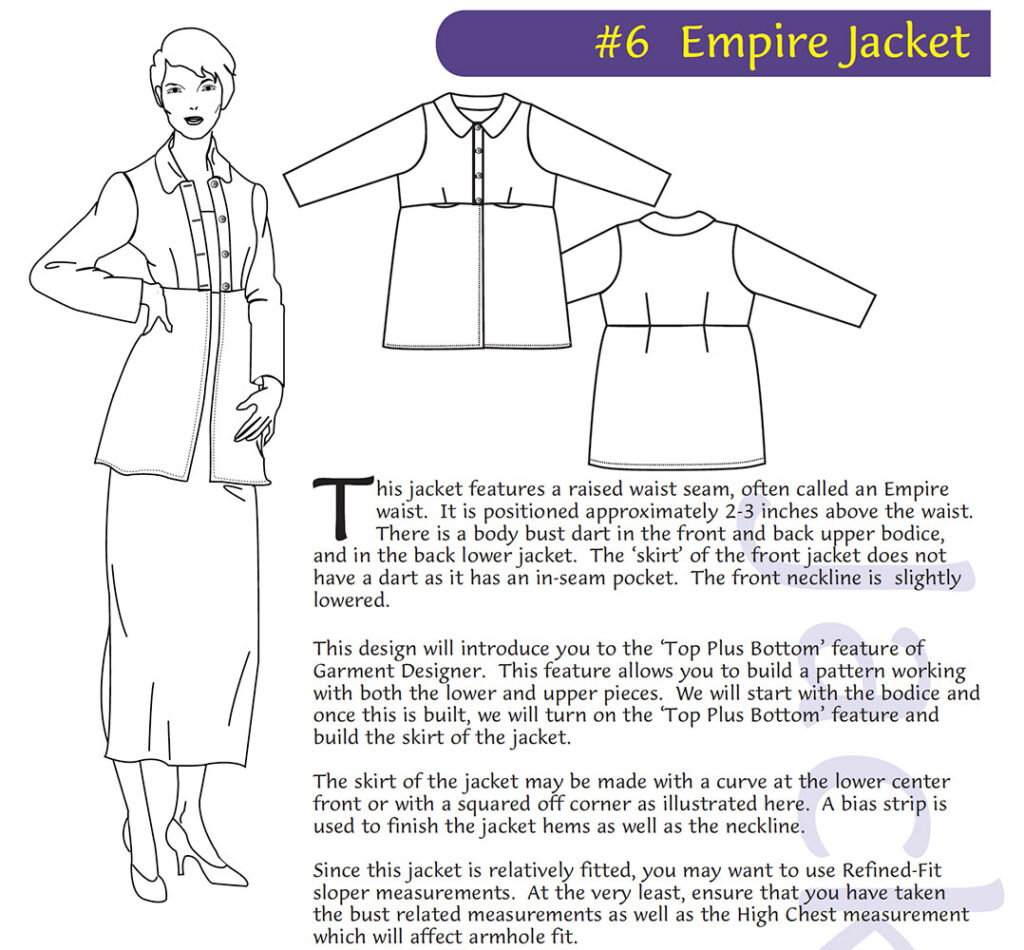
Example #3: The Empire Jacket
Below you can see that the dart was sewn to the front and back jacket pieces and then the pocket piece was added to the front. Next, the shoulder seam was sewn and the collar prepared.
I trust that you are understanding the general process. It is quite logical. If you are a new sewer or one who has been dormant for a while, you may need to consult a good sewing book for ‘technique’ to remind yourself of certain sewing procedures (such as sewing an in-seam pocket). I will talk about good references in an upcoming blog.
So, adopt my mantra…
Sew as SMALL as you can, as FLAT as you can, for as LONG as you can.
And enjoy the creative puzzle of the steps of garment assembly. You’ve got this!
~~ Susan Lazear, Creative Director, Cochenille Design Studio
