If you follow fashion, you will see that one of the current trends is clothing created using multiple fabrics. Here at Cochenille, we find this incredibly exciting, as it offers all forms of creativity, from choosing the fabrics, to planning the garment. And, in many cases, since you can save and use small bits of fabric in pieced garments, it is a feel-good sustainable practice.
How we define Pieced Design
Our definition of a pieced garment would be one that is made from multiple fabrics combined in a variety of ways.
Advantages of Pieced Design
There are many:
- It’s a creative outlet
- You will have one-of-a-kind unique clothing
- It is a sustainable practice
- You never need to worry about not having enough fabric for a project, as you can always add another one
Need Inspiration?
Here are some images from fashions on one of our favorite web sites (Artful Home). One can get inspiration there.
We also have a Pinterest Board which contains multiple ideas on the various ways to create a pieced look. Check it out by clicking here.
General Approach to Designing in a Pieced Manner
The Simplest approaches includes mixing fabrics by cutting each pattern piece out of a different fabric. Or, you could add new fabrics for Bands, Facings, Trims, Embellishments, Pockets.
A more complex approach is to utilize multiple small bits of fabric and piece them together. You can create a pieced fabric and then cut your pattern piece from that. Or, you can print out the full pattern, and then piece fabrics together to fill the space. This is often called a template approach.
Sample Project
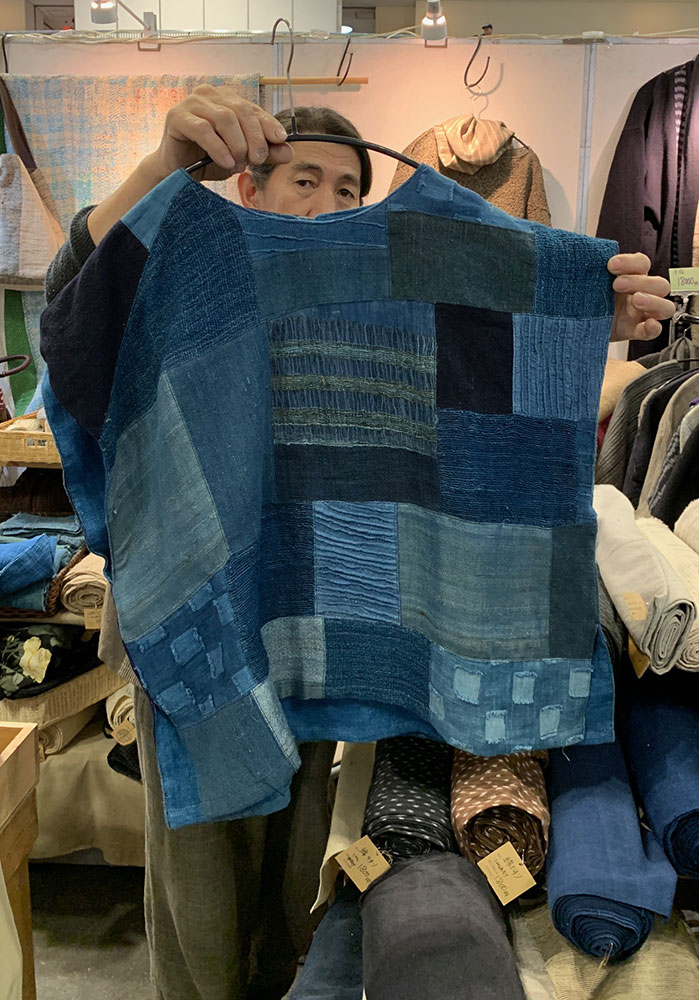
Several years ago, I attended an art and craft fair in Japan and fell in love with this garment.
It was a beautiful, but I decided to try my own hand at piecing, so I purchased small bits and pieces of a variety of Japanese fabrics.
I decided to create a pieced garment using a ‘strip approach’ as I thought this might be the simplest approach to employ when you don’t have large pieces of fabric.
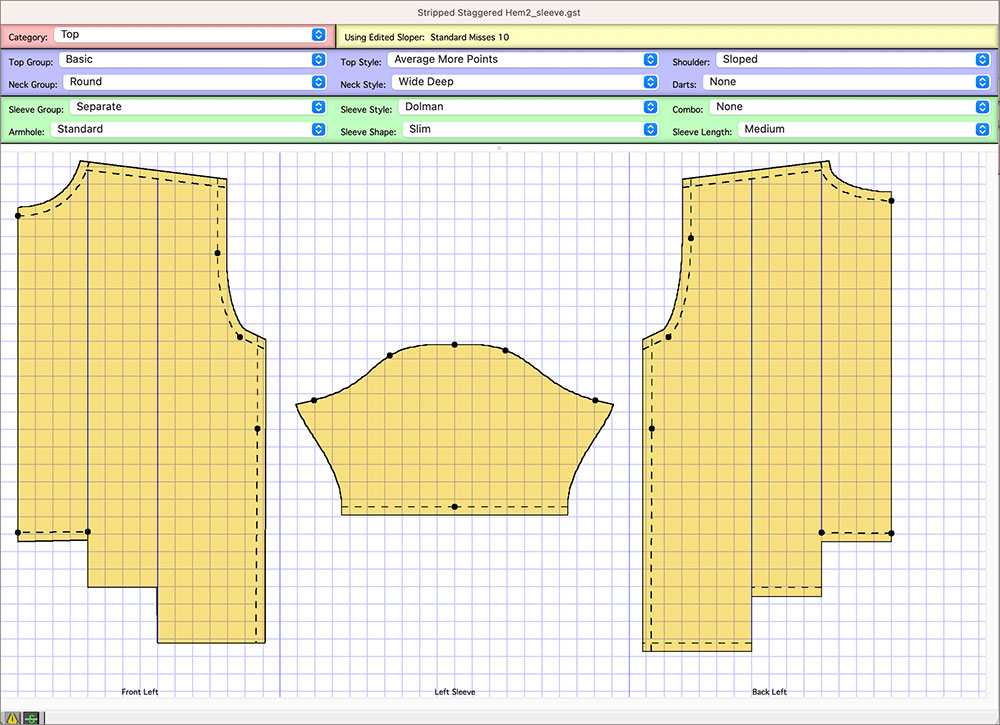
Here is my Garment Designer Pattern.
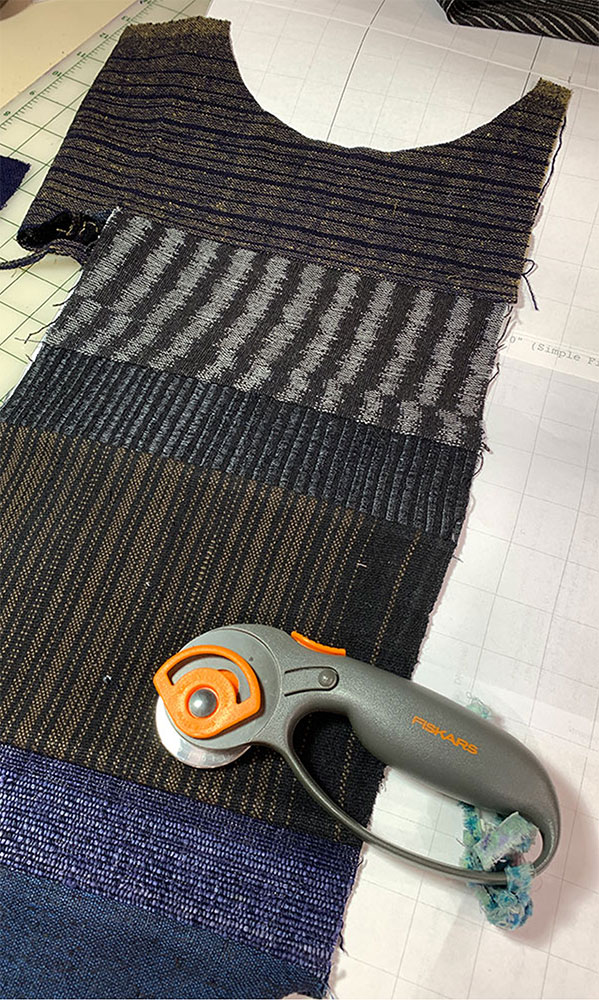
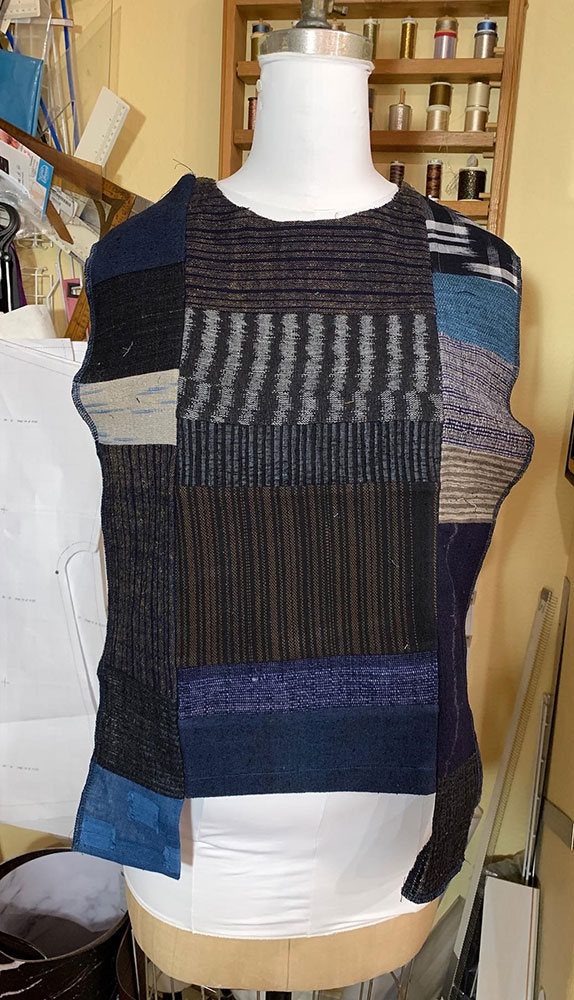
To build the pieced strips, I started laying out various fabrics, and then using my rotary cutter to cut them to the right width. One by one, I stitched them together to create the first panel. I laid this on my pattern (using it as a template) and cut out the neckline.
Then, I built the next panel and joined it to the first one. Here are the first three panels for the front. I had a little ambivalence over the upper right fabric, so you will see in the final garment that I made a swap.
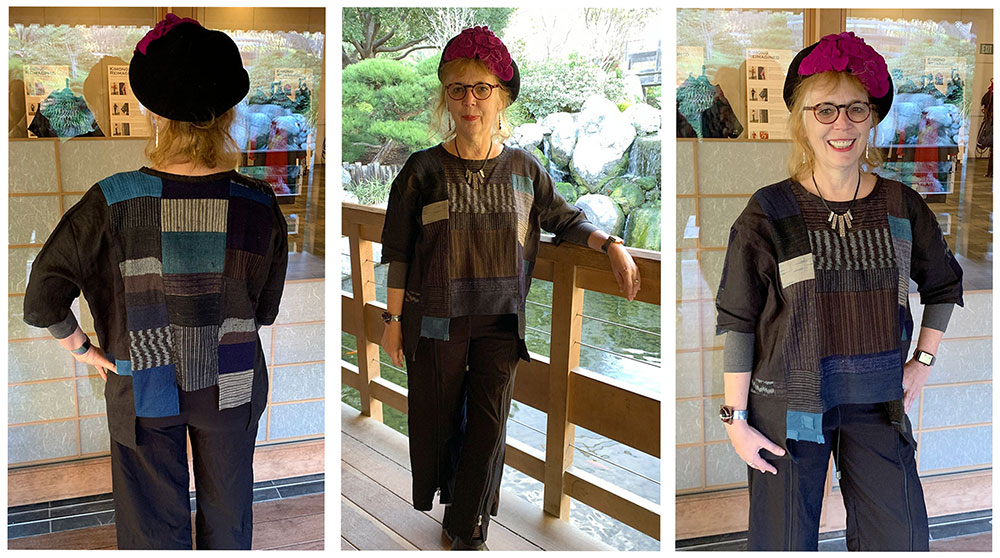
This process continued for both the front and back of the garment, and in total I created 6 vertical stripped panels.
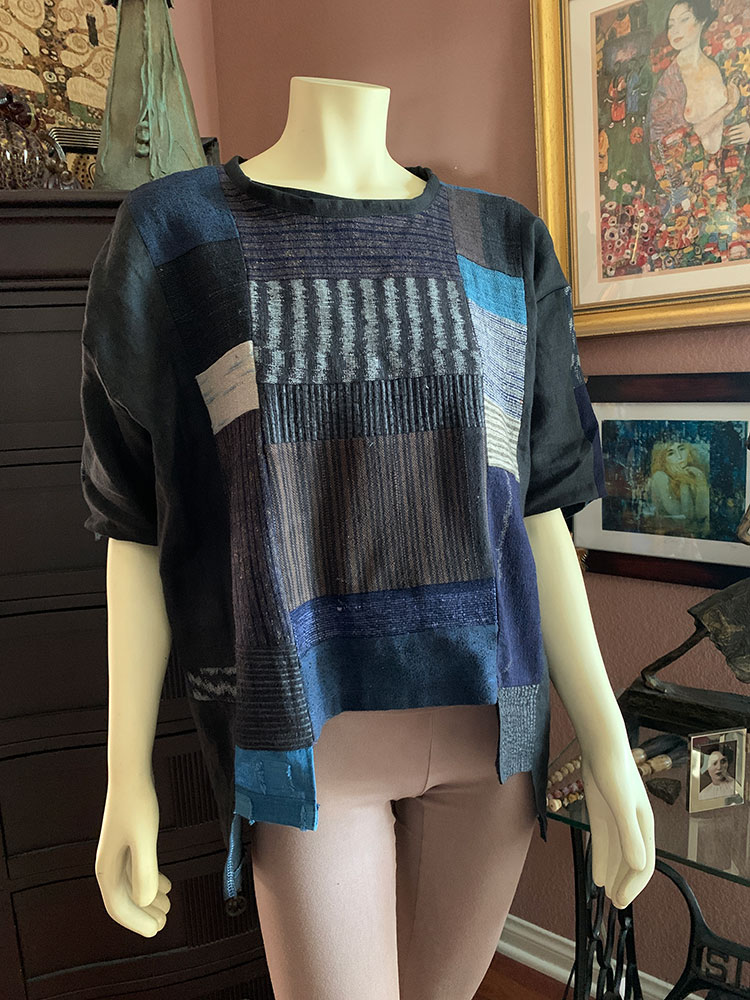
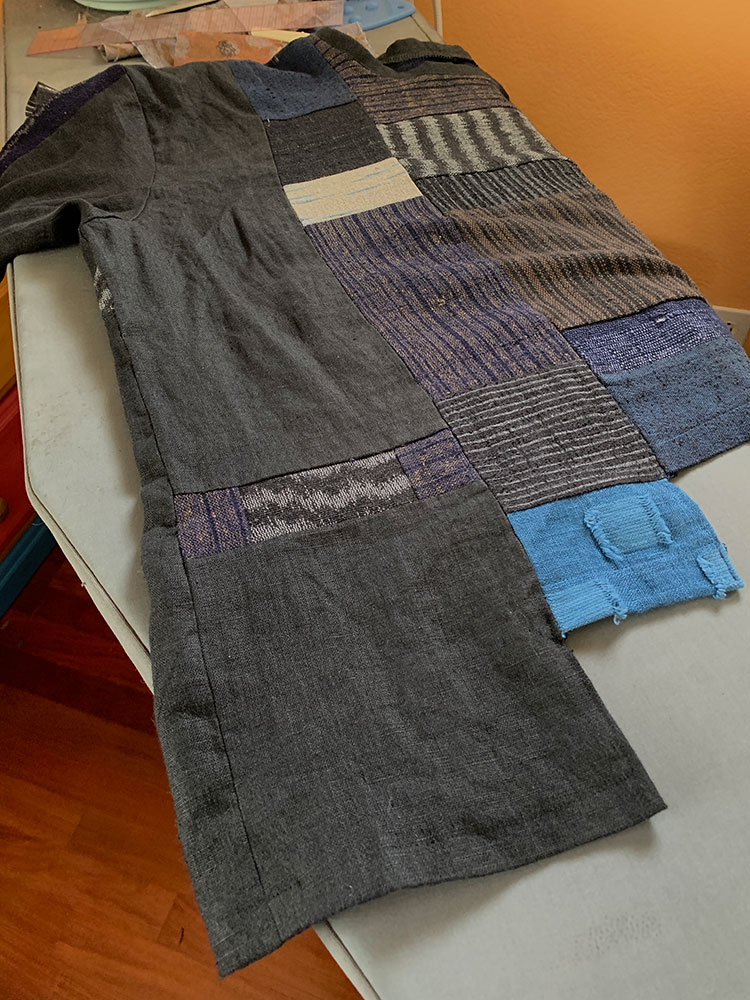
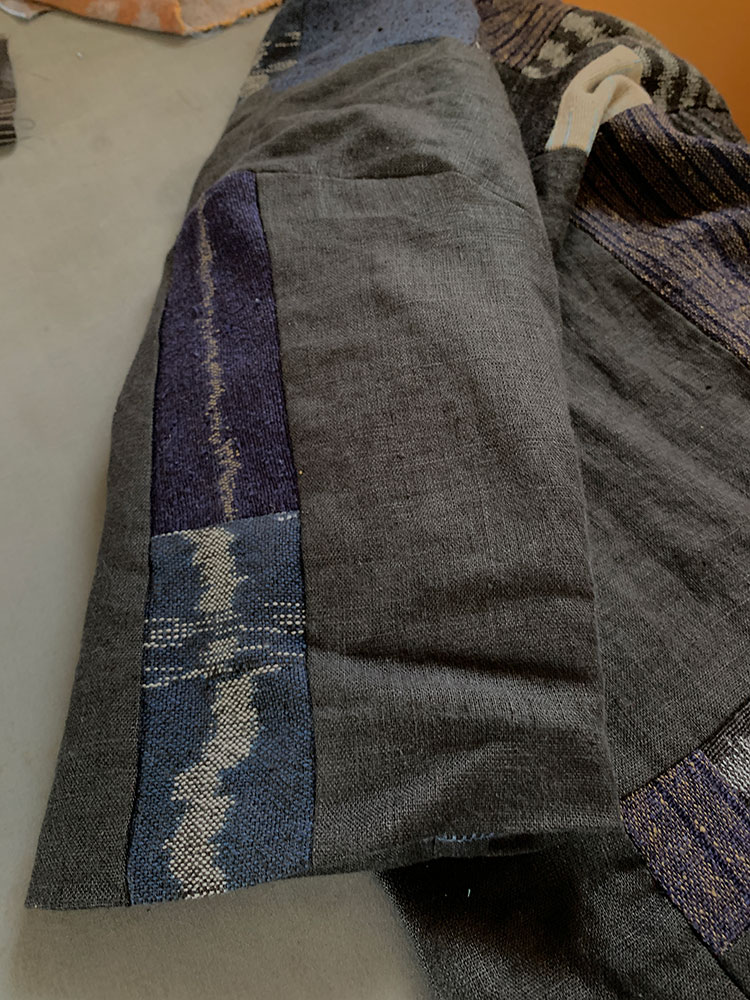
I used a black linen to cut out the sides and sleeves of the garment, and then, employed a little piecing on these pieces as well, as I didn’t have much fabric left. You can see how I incorporated small bits in the photos below.
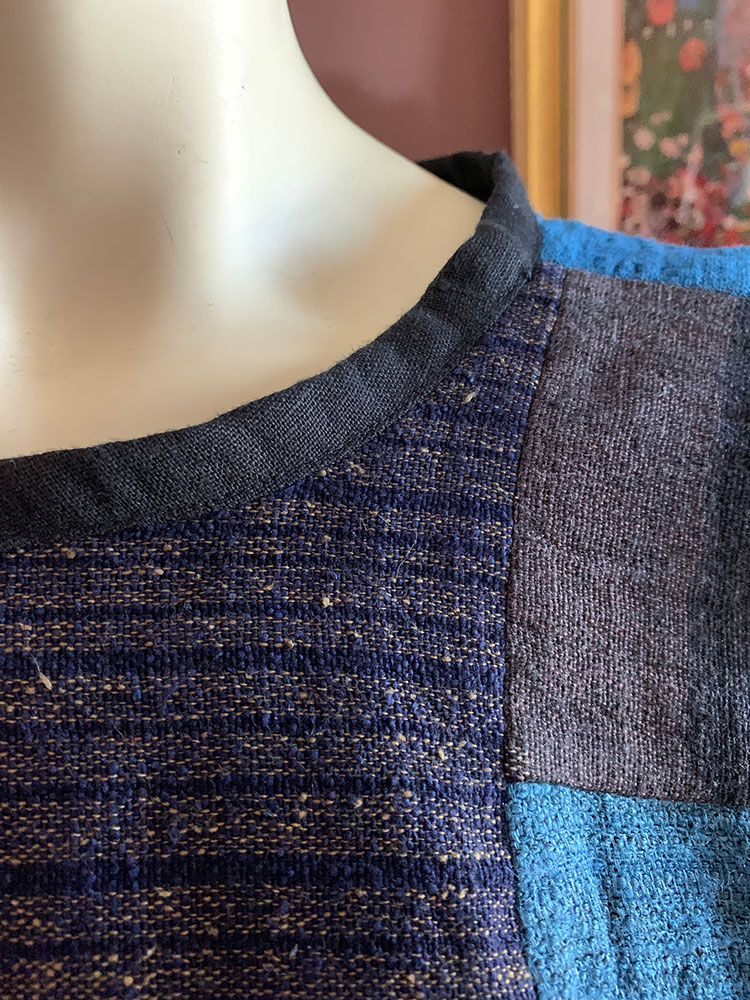
I bound the neckline with a bias strip of the black linen.
Here is the finished garment worn in life.
