with Lisbeth Wahl, Italy
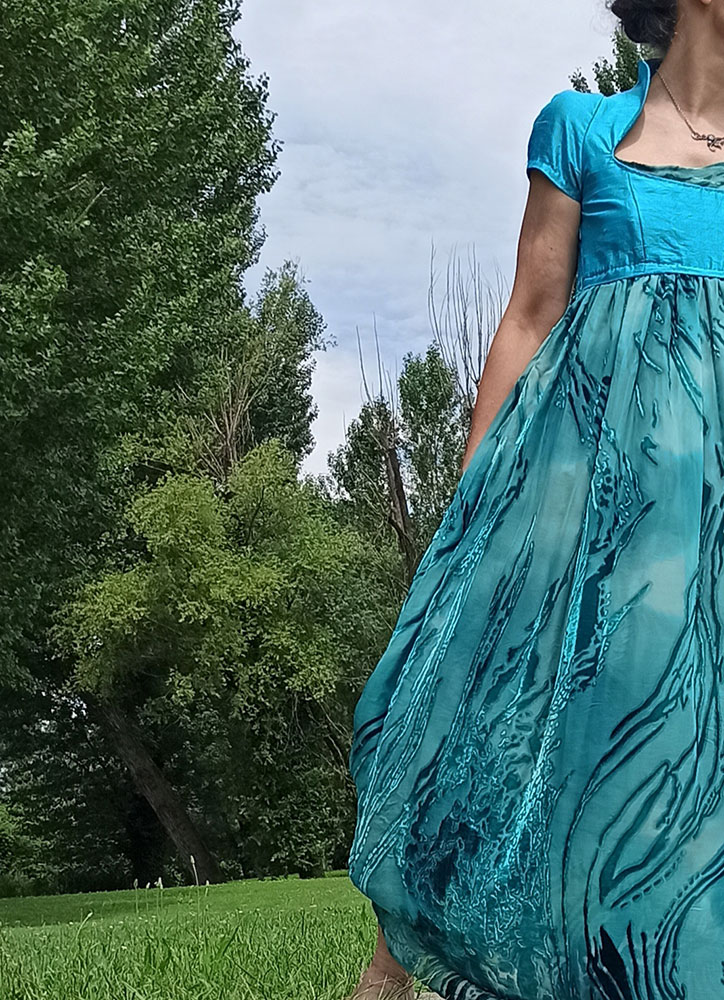
Inspiration
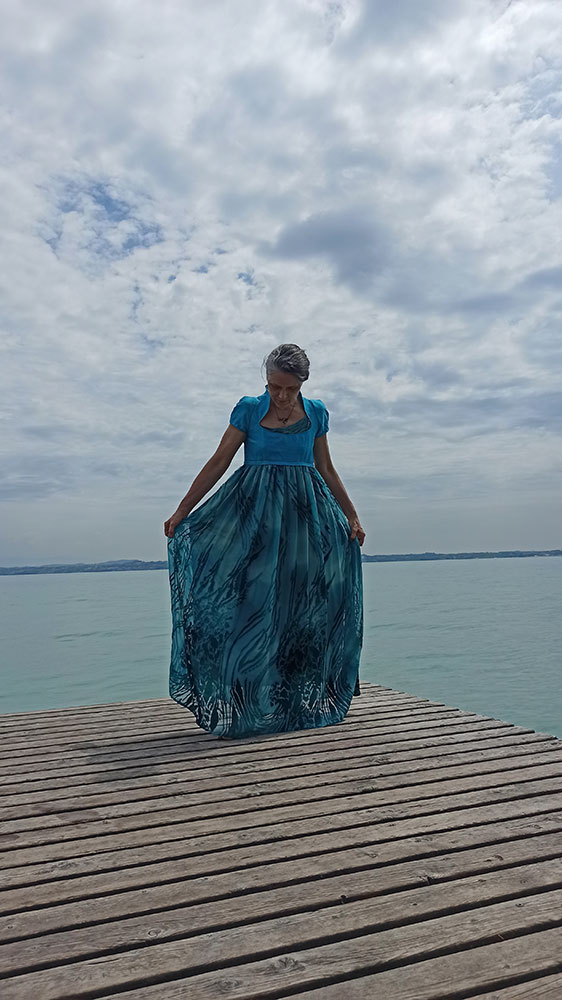
During a fantastic trip to the Los Angeles Fashion District with Susan and company, back in 2016, I fell head over heals in love with this gorgeous fabric. This sense of fluidity and shimmering emerald green/turquoise/bluish shades.

I had no clue yet what I would do with it, I just knew an occasion would come along sooner or later… or I would create the occasion!
So when an invitation arrived for my cousins wedding with elegant dress-code, that was it.
I wanted to make the most of the fabric and respond to that sense of fluidity. So I constructed a fitted top part in Garment Designer, with an Empire/regency impromptu (my favorite Time period). With curvy soft lines. And then I up-cycled a Turquoise Thai silk (a skirt+ shirt for 2 dollars from a thrift store, some 25 years ago) for this purpose.
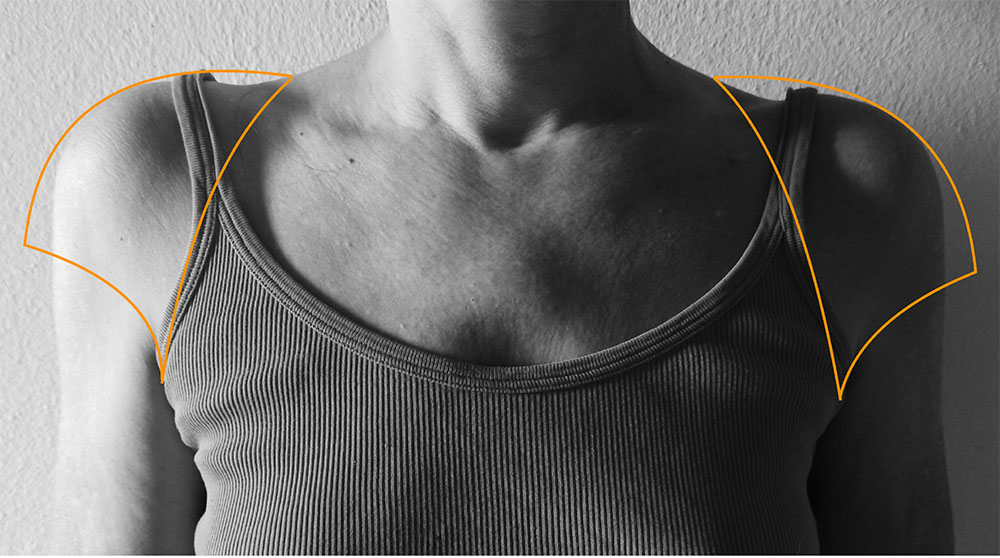
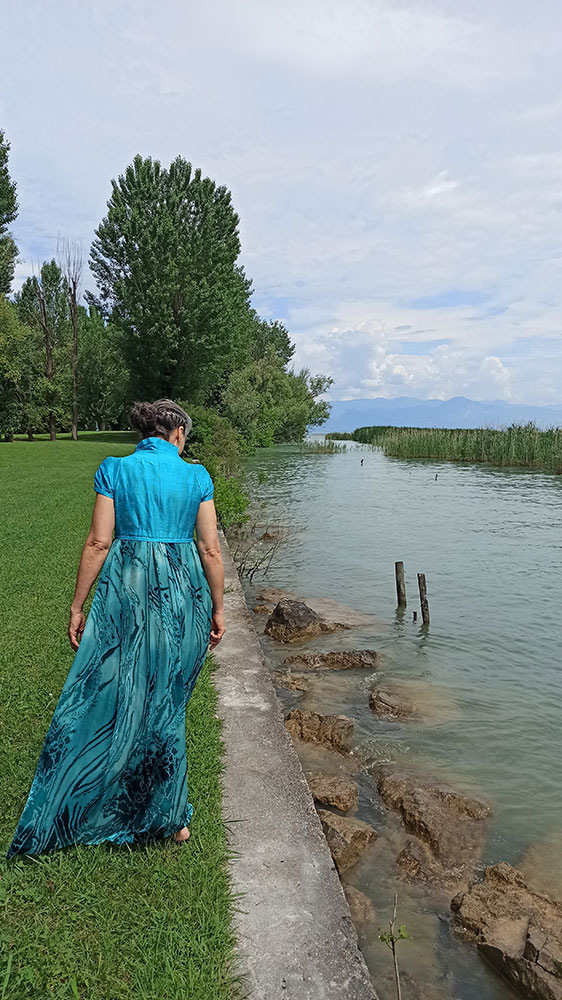
As I have rather square shoulders and little breast, I find it flattering with lines that break the Squareness… raglan in this case.
Furthermore I find it can be flattering with a little standing neck/collar, if you’ve got long hair to do an updo hairstyle.
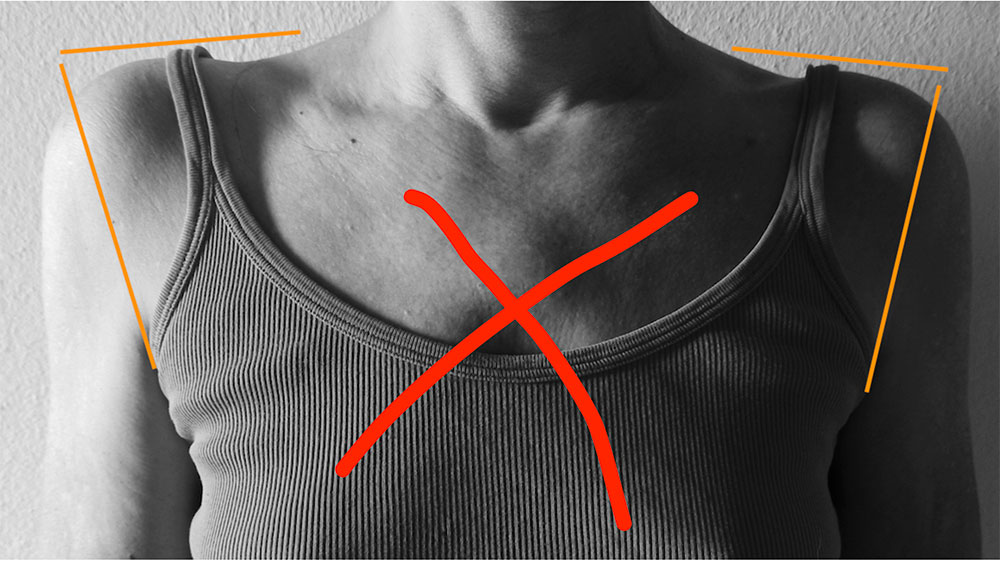
Building the Garment Designer Pattern
- Choosing Styes in Garment Designer
- Top Group: Contoured
- Top Style: Fitted
- Ease: Average—- (The advantage of being a BetaTester on the next version of GD!)
- Neck group: Specialty
- Neck Style: Narrow Funnel
- Armhole: standard
- Sleeve Shape: Flared (I choose this shape so I would have more flexibility in changing the form, as it has various possibilities of breaking the lines and creating curves).
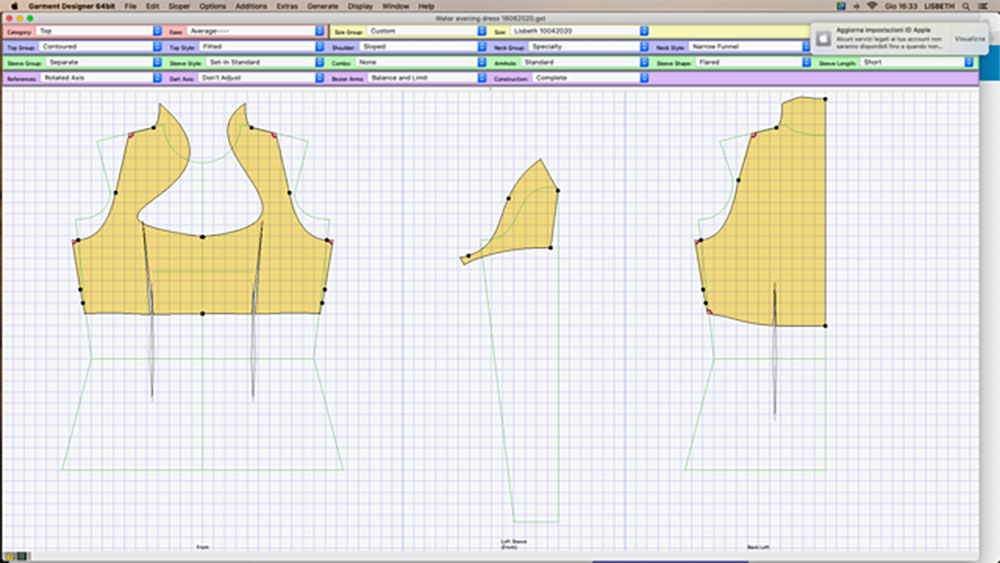
I defined the (bodice) garment length below my breast.
Then I started manipulating.
First I changed the shape of the armhole on the body- part.
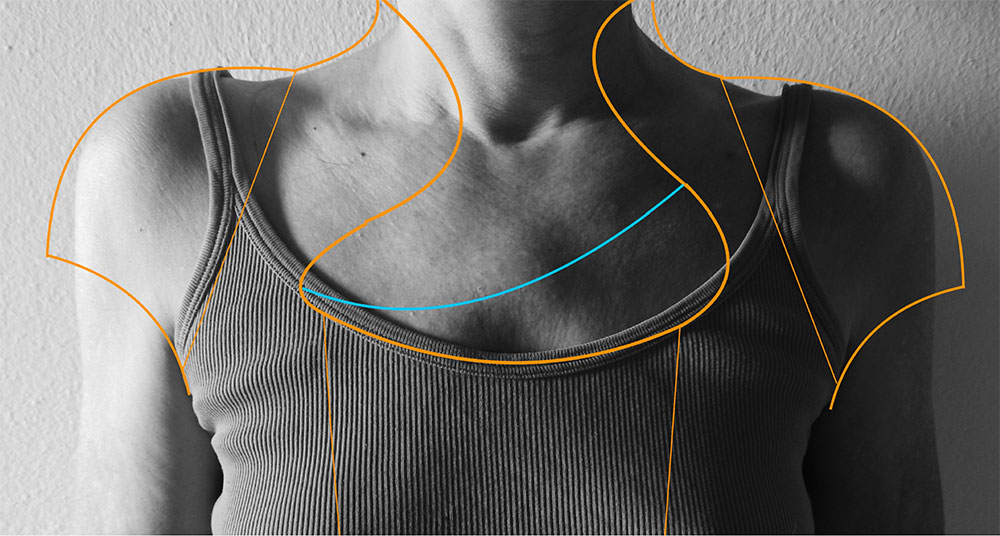
I printed out the body pattern and sew a sample in scrap fabric. I drew the line BD and the neck line by hand (First laid out flat on the table and then adjusted while wearing it) and when I was satisfied with the shapes, I transferred them to the pattern in GD.
Next step was to reconstruct the part I “cut away” on the shoulder and transfer it to the sleeve, to create a raglan shape.
So in constructing the GD pattern I separated the sleeve in the front and back part and manually added the triangular shape to the sleeve parts. The length of AB on the body, corresponds to the length of ab on the sleeve. As well as the length of BC that matches with bc on the sleeve. It’s a bit of playing around to get the angulations right, and the smoothness of the curves, taking care the sleeve doesn’t get too narrow in the manipulations.
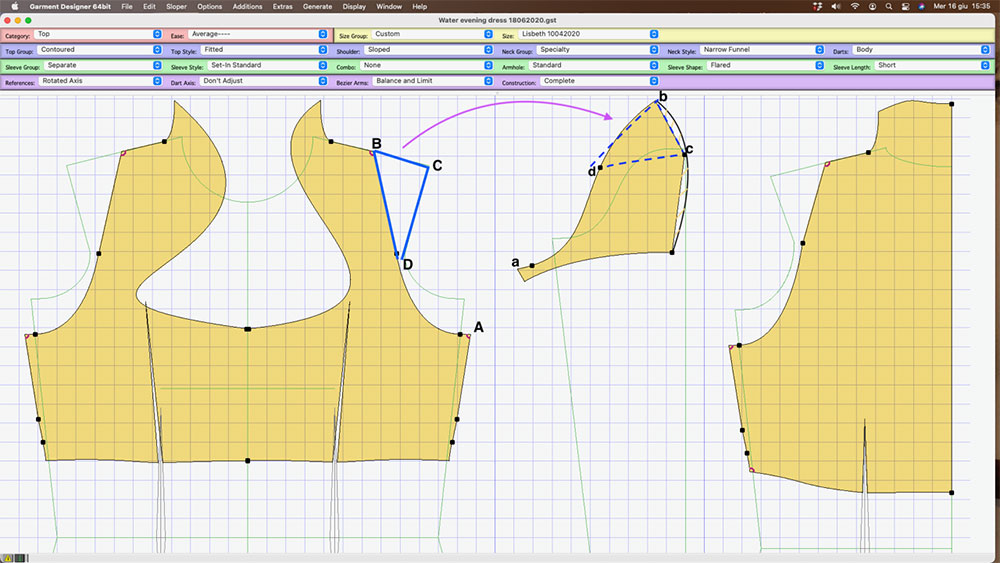
I curved the shoulder-line on the sleeve manually, whereafter I cut it out and sew a test of the sleeve to add to the sample, to further refine the fit. And again I transferred the modifications to the GD pattern.
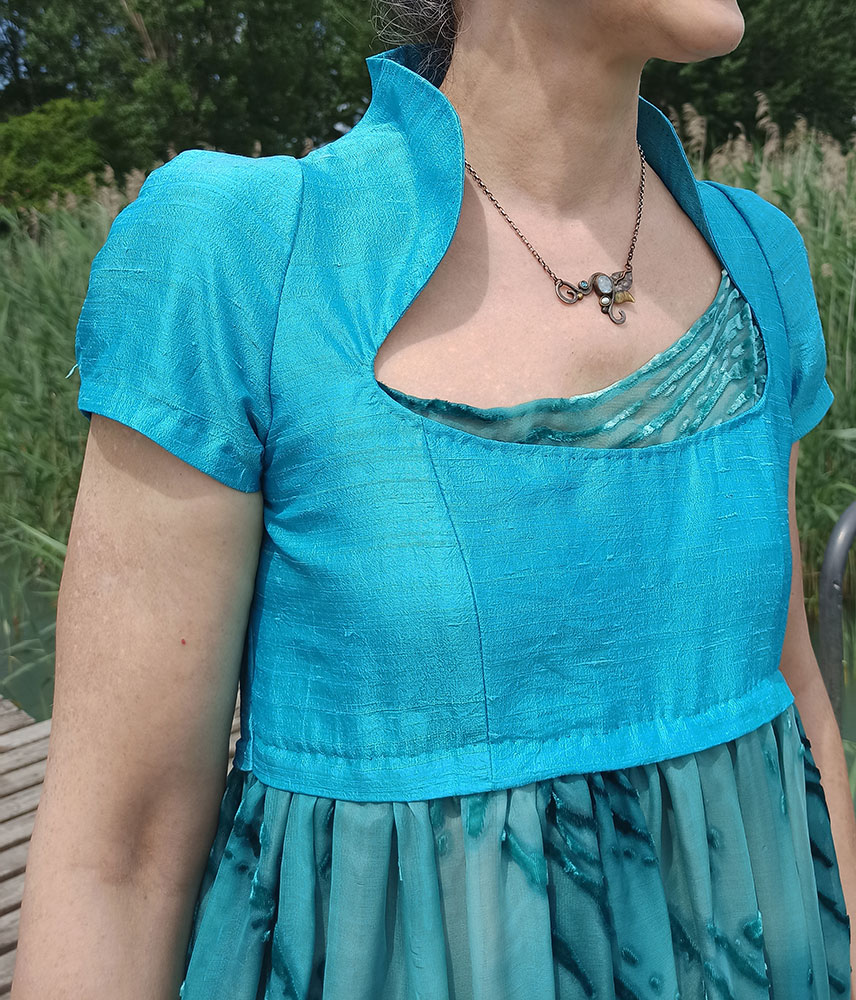
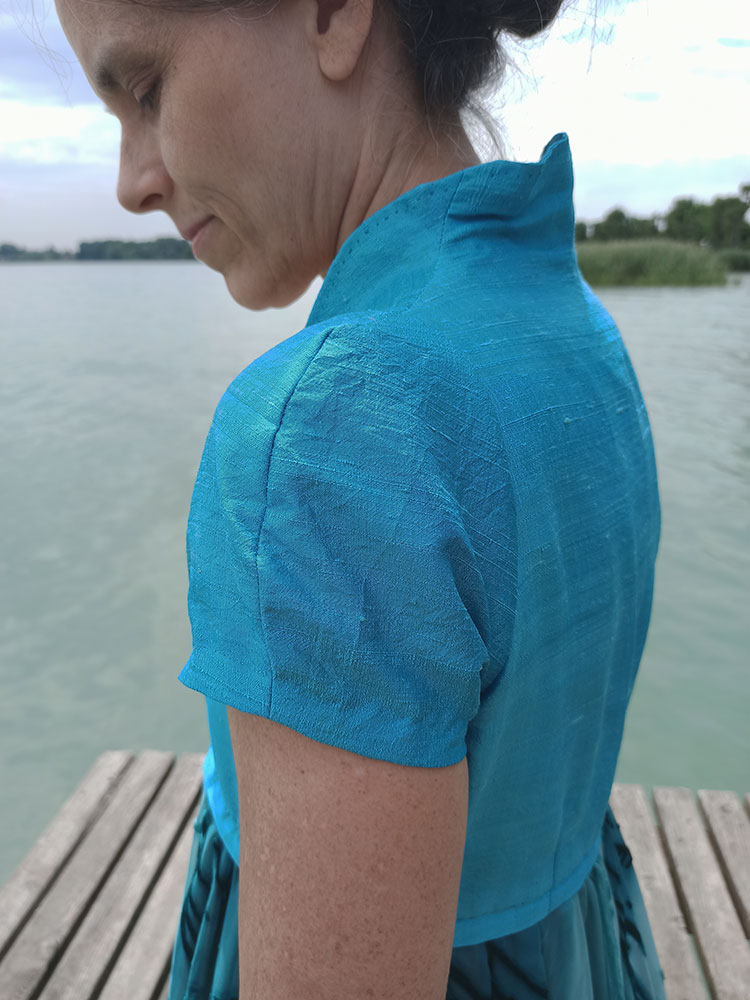
I made a lining of a leftover Pongee silk from my stash, color Terra. – Color in slight contrast with the upper fabric, so it would seem even more floating and in continuous movement.
In the end I created a handmade facing around the neckline and made a lining of the bodice with the same pongee silk as the skirt. These details were top- stitched by hand, as you may see on the photo. I added a Grosgrain band below the breast, in the Empire line, for stability. I put an invisible zipper in the side seam.
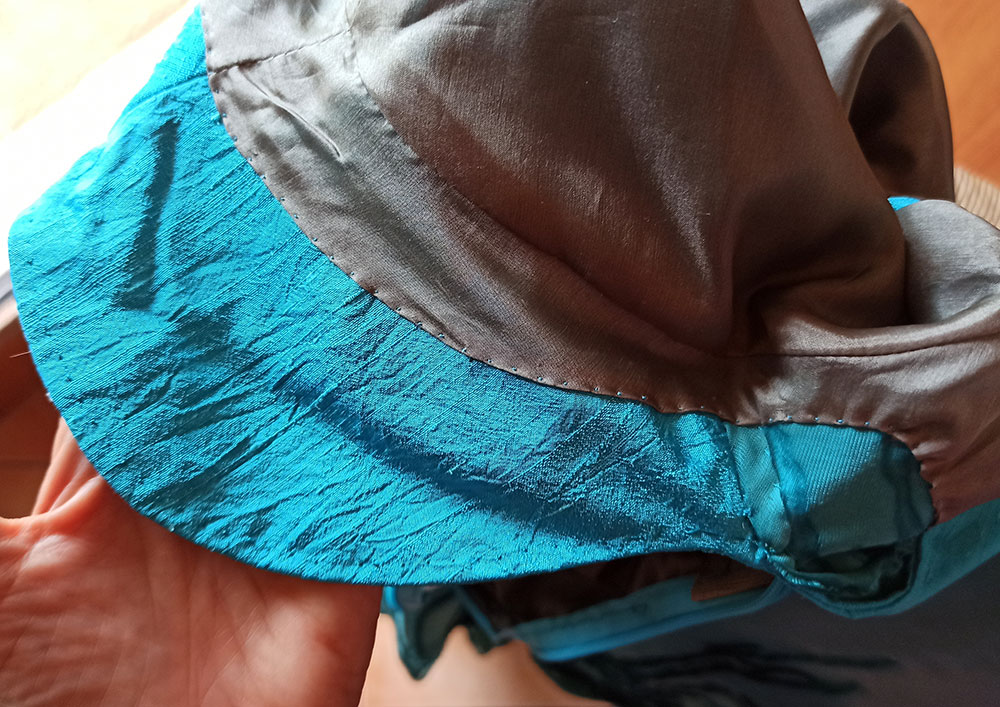
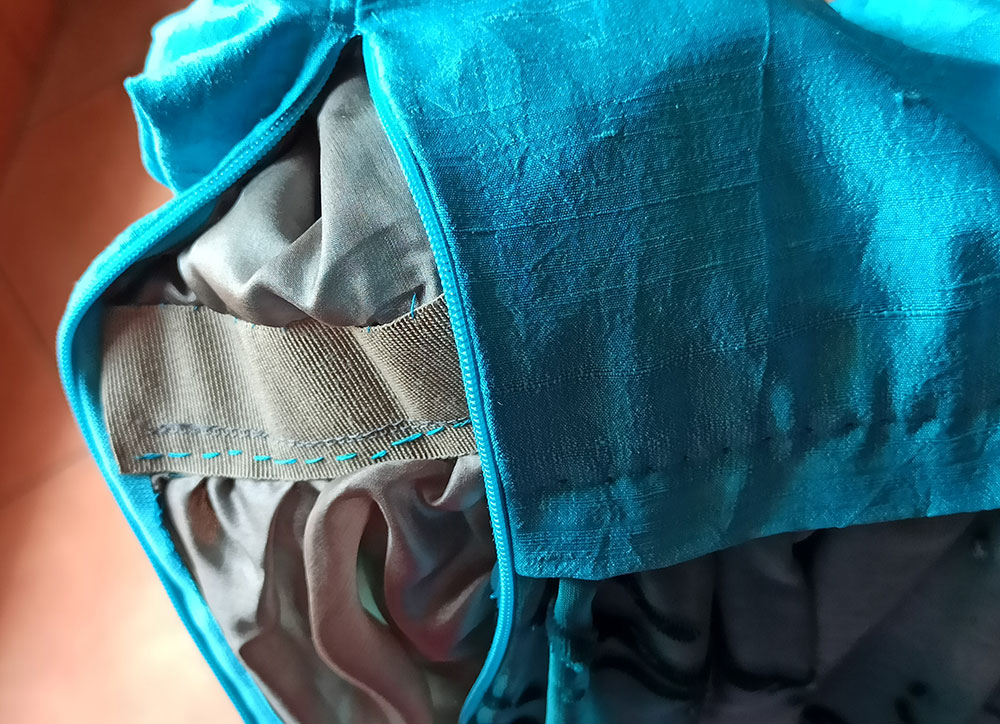
I made this dress four years ago. It’s always interesting to pick up a piece from time ago, and wonder How would my approach to this project have been today.
I like the overall outcome of it, although I’m not completely convinced by the sleeves. Mostly because if it is very hot, like in the humid Italian summer, it is very difficult to undress. But the main purpose was to dress it for the wedding that took place in Denmark in October, where it can be quite chilly, so it completed its purpose to the fullest.
Please enjoy the photos taken by my daughter, Leonora Wahl Danzi. We created these with the theme of Water Dress in mind.
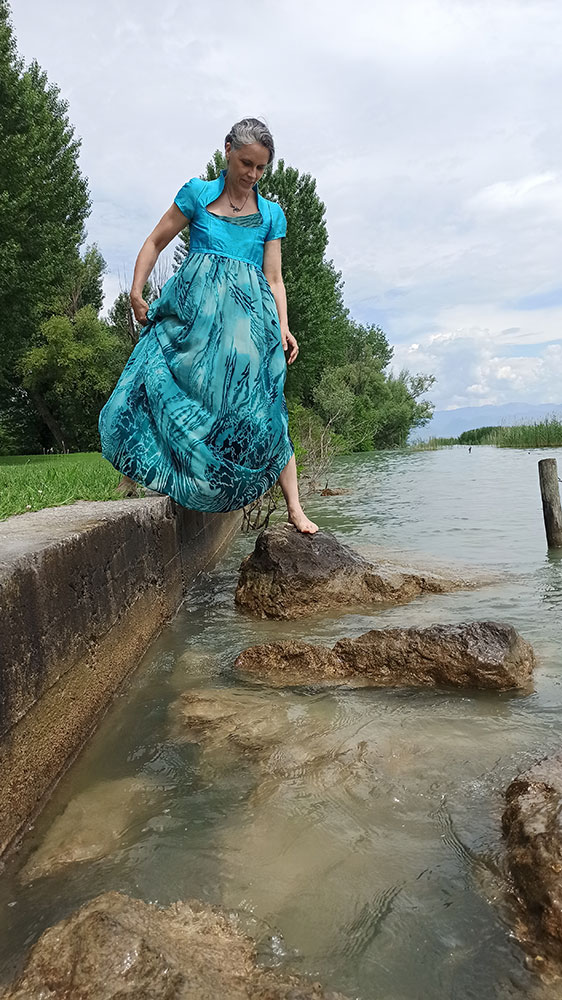
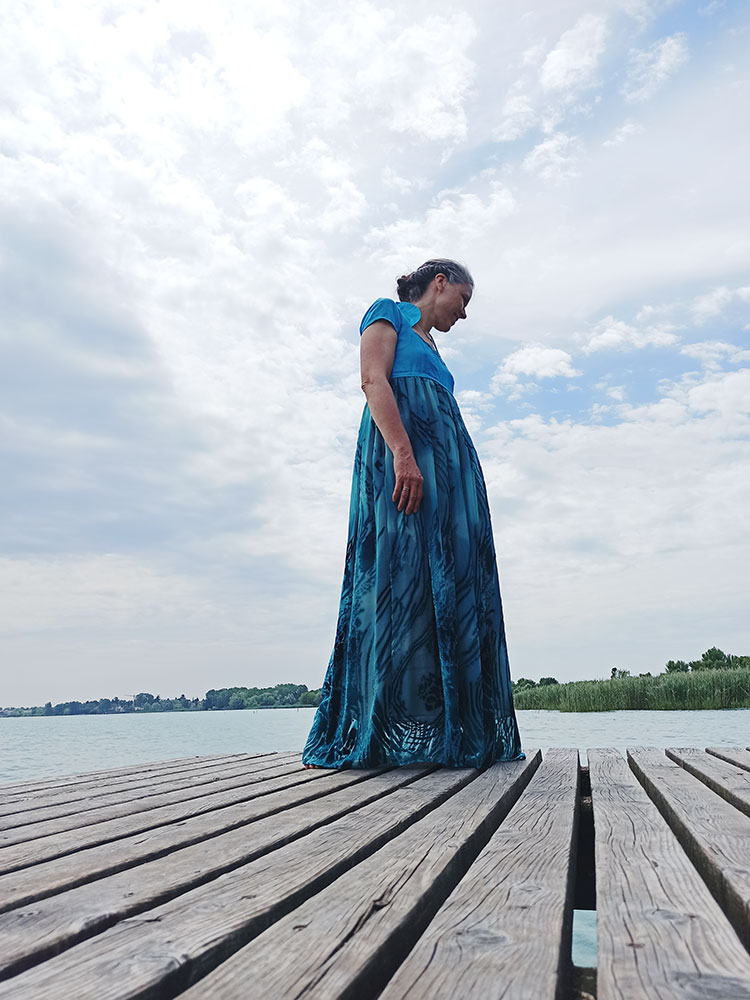
Follow Lisbeth on Instagram: @lisbeth.wahl.fiberart
Beautiful dress Lisbeth, and loved reading about the process too.